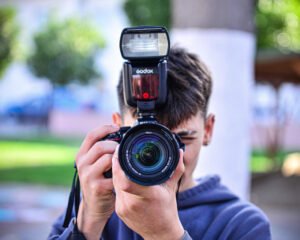
Buying a second-hand camera is a smart move for those who want to enjoy photography without burning a hole in their pocket. Whether you’re an amateur or a budding professional, knowing what to check while buying a second-hand camera can help you make the right purchase and avoid costly regrets.
1. Check the Physical Condition
Start by closely examining the camera’s body. Light scratches or signs of use are normal, but avoid cameras with dents, deep cracks, or any visible signs of damage, especially near sensitive parts like the lens mount or corners. Pay attention to the rubber grips—they should feel firm and not sticky or peeling. Also, inspect the battery compartment to ensure it’s clean and free from rust or corrosion.
2. Verify the Shutter Count
The shutter count reflects how much the camera has been used, much like mileage on a used car. Entry-level DSLRs and mirrorless cameras typically have a shutter life of around 100,000 shots, while pro models last longer. You can ask the seller for this information or use tools like CameraShutterCount.com to check it yourself. A lower shutter count generally indicates a longer remaining lifespan.
3. Inspect the Sensor
The image sensor is the heart of the camera. To check for issues, set the aperture to f/22 and take a photo of a plain white wall or a clear sky. When you zoom in on the image, look for any black spots or streaks. Small dots may just be dust, which can be cleaned. But visible scratches or blotches suggest damage and should be avoided.
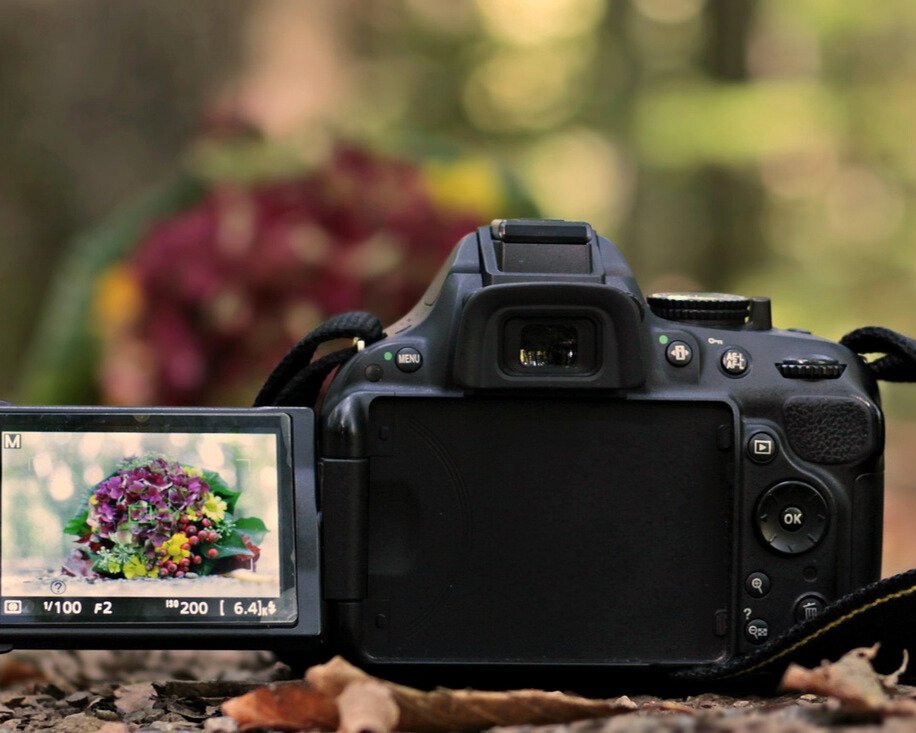
4. Examine the LCD and Viewfinder
Turn on the camera and observe the LCD screen. It should be bright and display colors accurately, without dead pixels or flickering. If it’s a touchscreen, make sure it responds smoothly to touch. Look through the viewfinder and check for clarity; it shouldn’t appear foggy or dirty, and focusing elements should display correctly.
5. Evaluate the Lens (if included)
If the second-hand camera comes with a lens, inspect it carefully. The glass on both ends should be clear, with no scratches, fungus, or foggy patches. Twist the zoom and focus rings—they should move smoothly without stiffness or grinding. Open and close the aperture using the camera to ensure the blades are clean and move freely.
6. Check the Lens Mount and Compatibility
Mount the lens onto the camera and check for a secure fit. There should be a smooth click when you attach it, and no wobbling. Compatibility is crucial—verify that the lens type suits your shooting needs and matches the camera’s sensor format (APS-C, full frame, etc.).
7. Test All Buttons, Dials, and Functions
Try every button and dial to make sure they respond properly. The mode dial should rotate without stiffness, and each setting should activate smoothly. Navigate through the menu and test key operations such as image playback, zooming, white balance settings, and autofocus to ensure everything is functioning correctly.
8. Check Flash and Hot Shoe
Pop up the built-in flash and test it by taking a photo. It should fire reliably and retract properly when not in use. If the camera supports external flash, examine the hot shoe mount. It should be clean and free of rust, and an external flash should fit securely without wobbling.
9. Inspect Ports and Memory Card Slot
Insert a memory card and check whether the camera reads and writes to it without errors. Then, look at the ports (USB, HDMI, audio) for any signs of damage or rust. Plug in a compatible cable if available to test data transfer and display output, especially if you plan to use the camera for video work.
10. Battery and Charger Check
Ensure that the battery fits properly and charges without issues. A good second-hand deal should include the charger, and ideally, the original battery. Once charged, switch on the camera and observe how long the battery lasts. While old batteries may not hold charge like new ones, they should still function reasonably well for a short session.
11. Check Firmware Version
Navigate to the settings menu and note the firmware version. Updated firmware usually improves performance and fixes bugs. A seller who has kept the camera’s firmware current is likely someone who took care of their gear.
12. Assess the Price
Before committing, compare prices on well-known platforms like MPB, KEH, or eBay. If the price is unusually low, dig deeper—it might have hidden issues or missing parts. Balance the cost against the camera’s age, shutter count, and included accessories to determine if it’s truly a good deal.
13. Ask for Accessories and Documents
Ask the seller if they have the original box, instruction manual, or purchase receipt. These add value and credibility to the transaction. Also check whether useful accessories like straps, cables, lens caps, or extra batteries are included—it can save you from extra expenses later.
14. Test the Camera Before Buying
If possible, test the camera in person. Bring your own SD card and lens (if the body is sold separately) to take test shots and videos. Review the images on a laptop screen for sharpness and exposure. Spending 15 to 20 minutes trying different modes will give you a better feel for the camera’s performance.
Be a Smart Buyer
Understanding what to check while buying a second-hand camera puts you in a powerful position. With a few careful inspections and thoughtful questions, you can get a fantastic deal on a well-maintained camera. Second-hand doesn’t mean second-best—sometimes, it means first in value.